Intro to GSAP Animation for Complete Beginners - #2
Part Two - How to set up GSAP in 3 ways


Welcome back 👋👋!
I guess you are here because you've finished reading Intro to GSAP Animation - Part One: The What and Why. If not, go check it out first!
Now that you know what GSAP stands for, why millions of websites implement animations with GSAP , and what Tween and Timeline are, it's time to add GSAP to our own projects!
You will learn how to install GSAP in 3 ways:
ZIP Download
CDN
NPM
ZIP Download
Step 1: Go to the installation guide and click the green download button.
Once you unzip the entire folder, this is what you should see.
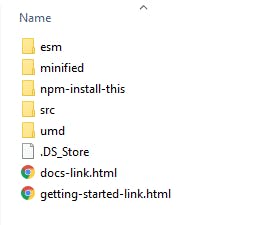
Step 2: Go to /minified folder and drag the gsap.min.js file to your project.
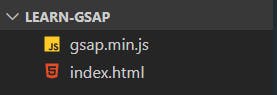
For the purpose of illustration, I've created a learn-gsap folder. Inside the folder, I have my index.html and gsap.min.js.
The current folder structure looks super simple:
AND I have a basic set up like so:
<html lang="en">
  <head>
    <meta charset="UTF-8" />
    <meta http-equiv="X-UA-Compatible" content="IE=edge" />
    <meta name="viewport" content="width=device-width, initial-scale=1.0" />
    <style>
      div {
        border: 1px solid black;
        width: 300px;
        height: 300px;
        text-align: center;
      }
    </style>
    <title>Learn GSAP Setup</title>
  </head>
  <body>
    <div>my first tween yeah</div>
  </body>
</html>
Step 3: insert <script src="./gsap.min.js"></script> tag and create your first tween!
The final code looks like this:
<html lang="en">
  <head>
    <meta charset="UTF-8" />
    <meta http-equiv="X-UA-Compatible" content="IE=edge" />
    <meta name="viewport" content="width=device-width, initial-scale=1.0" />
    👉  <script src="./gsap.min.js"></script> 👈
    <style>
      div {
        border: 1px solid black;
        width: 300px;
        height: 300px;
        text-align: center;
      }
    </style>
    <title>Learn GSAP Setup</title>
  </head>
  <body>
    <div>my first tween yeah</div>

    <script>
       // 👇👇👇👇
      gsap.to("div", {
        duration: 3,
        x: 500,
        y: 200,
        scale: 1.5,
      });
    </script>
  </body>
</html>
🎉🎉🎉 Wooohoo, that wasn't too hard, right!
CDN
Don't want to download the files ? CDN is your best friend !
Step 1: Find the latest CDN Link
Grab the link from the front page of GSAP website
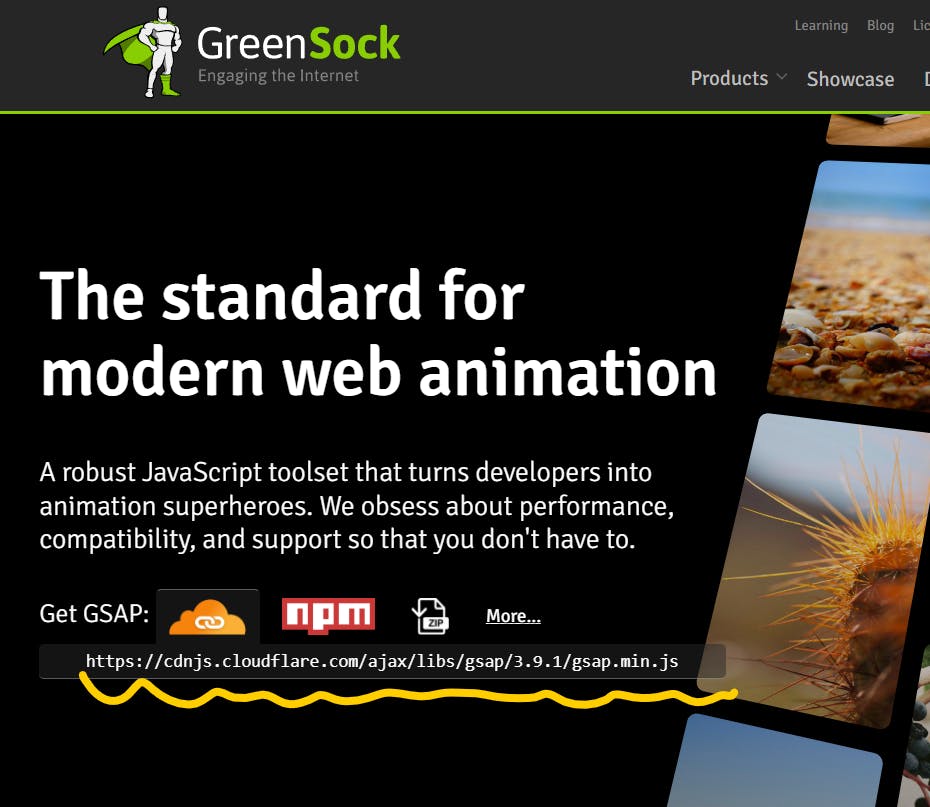
Your version might be different depending on when you read this blog post
Step 2: Create your index.html file and add the <script> tag
For simplicity, let's reuse the same code as above.
<html lang="en">
  <head>
    <meta charset="UTF-8" />
    <meta http-equiv="X-UA-Compatible" content="IE=edge" />
    <meta name="viewport" content="width=device-width, initial-scale=1.0" />
  <!-- use CDN -->
<script src="https://cdnjs.cloudflare.com/ajax/libs/gsap/3.9.1/gsap.min.js"></script>
    <style>
      div {
        border: 1px solid black;
        width: 300px;
        height: 300px;
        text-align: center;
      }
    </style>
    <title>Learn GSAP Setup</title>
  </head>
  <body>
    <div>my first tween yeah</div>

    <script>
       // 👇👇👇👇
      gsap.to("div", {
        duration: 3,
        x: 500,
        y: 200,
        scale: 1.5,
      });
    </script>
  </body>
</html>
That's it 🎉🎉🎉
NPM
I created a React App by running npx create-react-app . in my learn-gsap-npm folder.
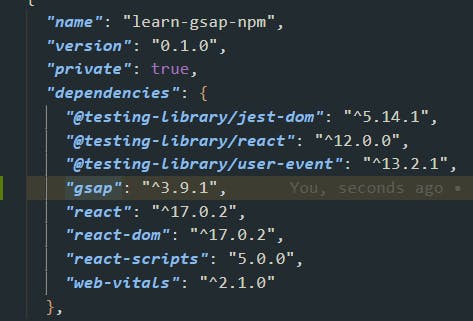
Step 1: Go to the root directory of your project and run npm i gsap
Your package.json file should now look like:
Step 2: import gsap, useRef, useEffect
If you just started learning React, the following code might look a bit overwhelming to you. I suggest you check out useEffect and useRef React Hooks.
After adding useRef, useEffect, and gsap, myApp.js and App.css now look like this:
// App.js

import React, { useRef, useEffect } from "react";
import { gsap } from "gsap";
import "./App.css";

function App() {
  const containerRef = useRef();

  useEffect(() => {
    gsap.to(".App", { duration: 3, x: 500, y: 200, scale: 1.5 });
  }, []);

  return (
    <div className="App" ref={containerRef}>
      this is my first tween!
    </div>
  );
}

export default App;
// App.css
.App {
  border: 1px solid black;
  width: 300px;
  height: 300px;
  text-align: center;
}
For GSAP animation to work, we need access to the elements in the DOM. Refs allows us to store references to DOM nodes in a React component.
And why do we need useEffect here?
The function passed to useEffect will run after the render is committed to the screen.
Before we can animate anything, we need to make sure DOM has been rendered. Otherwise, we will see a warning GSAP target .App not found.

And that's it 🎉🎉🎉🎉🎉🎉
Now if you run npm start you should see the exact same effect as the first two demos!
In the next post, we will deep dive into Tween and its special properties!